

Blade Sharpening 101
Maintaining your lawn mower blades is essential to keep your equipment performing and your lawn looking its best.
What is the key to maintaining a clean cut yard? Sharp blades is on of the first steps to ensure your grass is being cut clean and crisp. Dull blades can tear the grass instead of cutting it, leading to uneven and unhealthy-looking lawns. Sharpening blades is a relatively simple task with the right tools and some know-how. In five simple steps, we will explain how to sharpen lawn mower blades and improve cutting performance.

Step 1: Prep and Remove the Blades
Safety first! Before sharpening the lawn mower blades, ensure that the engine is turned off, the key is removed, and the spark plug is disconnected to ensure no accidental starting. Wear protective gloves and goggles to prevent injury while handling the blades.
Remove the mower blades from the deck by loosening the bolts or nuts that hold the blade in place. Use a wrench or socket set to remove the bolts or nuts.
Step 2: Clean the Blades
Remove rust buildup where possible. Clean the blades by using a wire brush to remove any dirt or debris that may have accumulated on them. This will make it easier to sharpen the blades and maintain the lifespan of your sharpening tools.
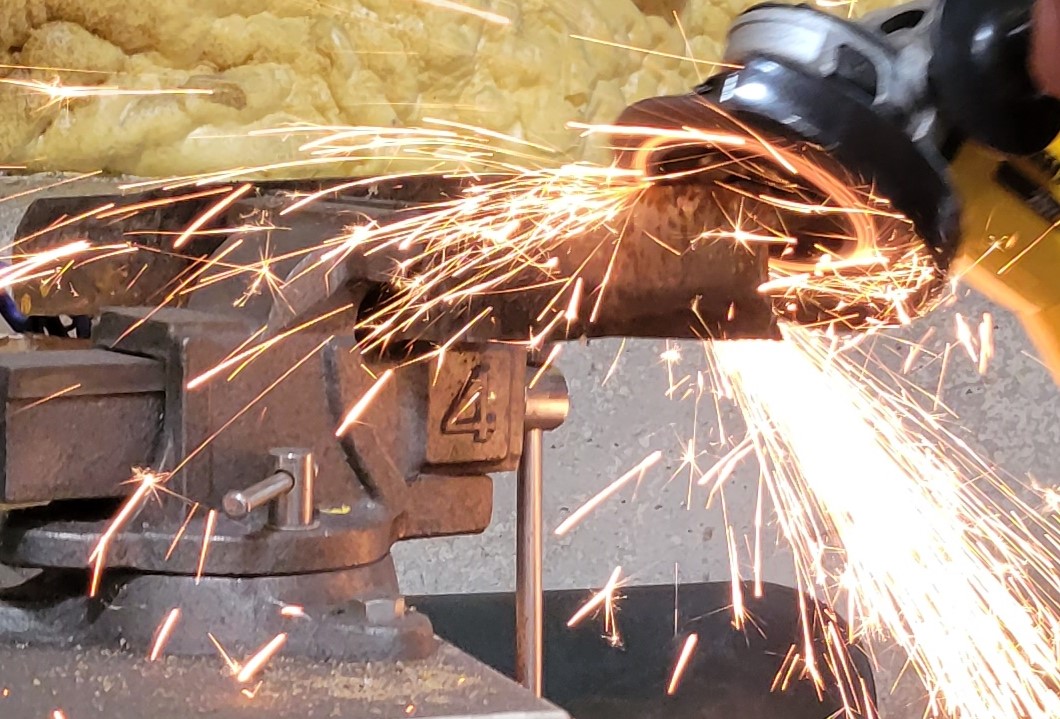
Step 3: Sharpen the Blades and Balance
Sharpening the blades requires a sharpening tool such as a grinder, or file. If using a bench grinder, position the blade at a 45-degree angle and run it across the wheel in a forward and backward motion, applying consistent pressure to sharpen the blade. If you are using a file, hold the file at a 20-degree angle and run it across the blade in a forward and backward motion repeating the process as necessary.
After sharpening, check the balance by suspending the blade on a nail or screwdriver. If the blade tilts to one side, remove a little more material from that side until the blade is balanced.
Step 4: Reinstall the Blades
Once the blades are sharpened and balanced, reinstall them back onto the mower deck. Tighten the bolts or nuts securely, ensuring that the blades are installed in the correct position.
Step5: Test the Mower
After reassembling the mower blades, test them by mowing a small area of the lawn to check if the cutting performance has improved. If the cut is clean, then they have successfully been sharpened. If the cut produces a messy and uneven cut they aren’t sharp just yet. Try again or call your local shop.
Skipping the DIY and calling your local service shop turns 5 steps into just one! The experience and tools offered by professionals not only makes sharpening your blade an easy task but an inexpensive one as well! Stop by anytime to Wilson Acres to have your blades sharpened on the spot!
*The information in this article is for information purposes only. Consult a professional on how to handle blades safely.
Leave a Reply